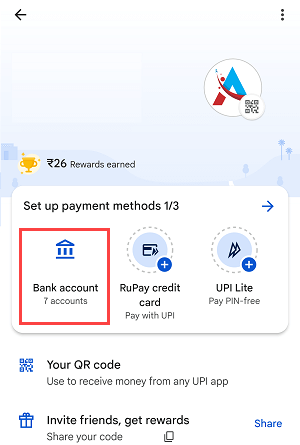
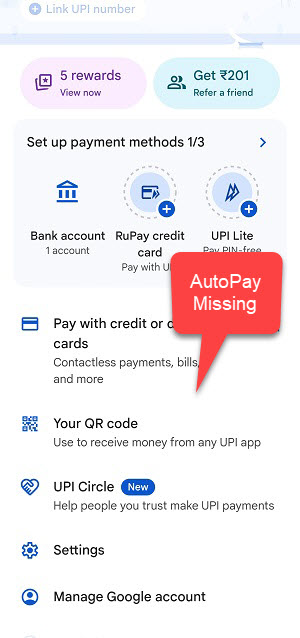
Applying for an Initial Public Offering (IPO) has become incredibly accessible thanks to UPI-based payments. However, a common frustration for many investors is hitting a roadblock right at the final step: approving the IPO mandate on Google Pay (Gpay). Many users open their Gpay app only to find that the “AutoPay” option is completely missing from their settings, leaving them unable to authorise the fund block for their application. This issue can cause confusion and the risk of missing out on an investment opportunity.
Fortunately, the solution is surprisingly simple and doesn’t involve complex technical fixes. The visibility of the AutoPay feature in Google Pay is often dependent on an active mandate request. This guide will walk you through the exact step-by-step process to apply for an IPO, trigger the mandate request, and make the AutoPay option appear in your Gpay app, allowing you to successfully approve your IPO application with ease.
How to Enable AutoPay in Google Pay for IPO Mandates
The key to making the AutoPay option visible in your Google Pay settings is to first initiate a transaction that requires a UPI mandate. For IPOs, this means you must complete the application process in your Demat or broker’s app first. Once your application is submitted, a mandate request is sent to your Gpay UPI ID, which then activates and reveals the AutoPay section in your app’s settings.
Before you start, ensure two things: first, that your Google Pay app is updated to the latest version from the Play Store or App Store. An outdated app is a common cause of missing features. Second, make sure you apply for the IPO during market hours (typically 10:15 AM to 3:00 PM IST) to ensure the mandate request is processed promptly.
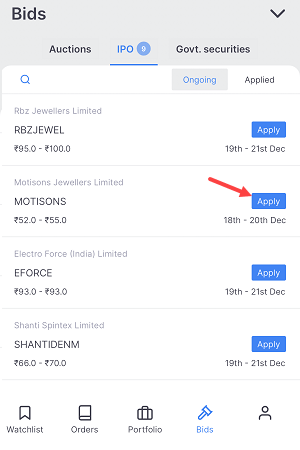
Step 1: Apply for the IPO via Your Demat App
Open your stockbroker’s mobile application (e.g., Zerodha, Upstox, Angel One) and navigate to the IPO section. Select the IPO you wish to apply for and tap the “Apply” button.
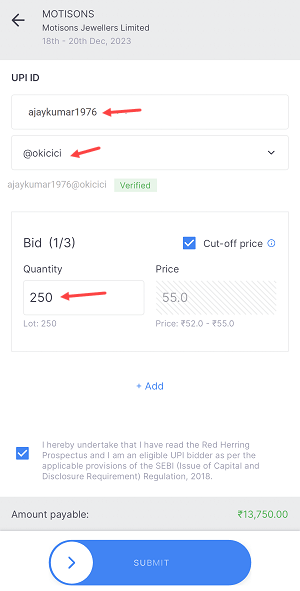
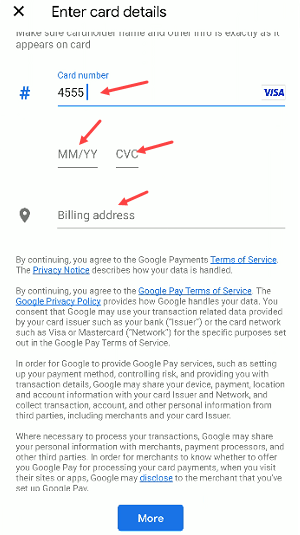
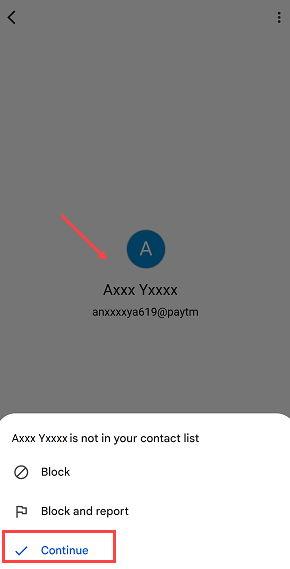
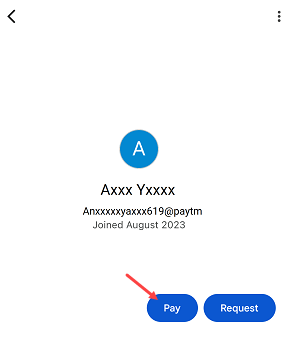
Step 2: Enter Your Google Pay UPI ID
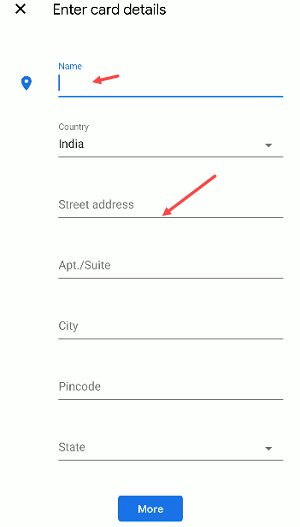
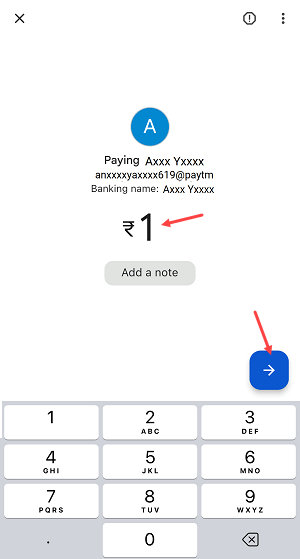
On the application page, you will be prompted to enter your UPI ID. Carefully enter your Google Pay UPI ID here. Proceed to enter the number of lots you wish to bid for at the cut-off price.
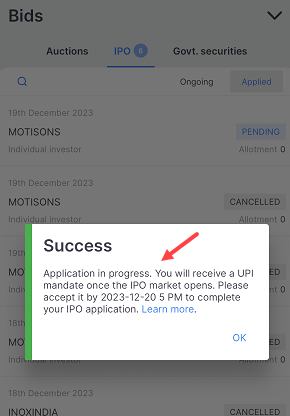
Step 3: Submit Your IPO Application
After filling in the details, review your application and submit it. You will see a success message confirming that your application has been placed and a mandate request has been sent to your UPI app for approval.
Step 4: Wait for the Mandate Request
As indicated in the video, it can take some time (up to 4 hours) for the mandate request to reflect in your Google Pay app. Be patient during this period.
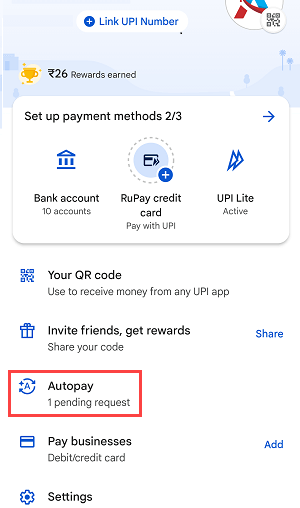
Step 5: Open Google Pay and Find the AutoPay Option
Once you receive a notification or after a reasonable waiting period, open your Google Pay app. Tap on your profile picture in the top-right corner. In your profile settings, you should now see the “AutoPay” option, which was previously missing.

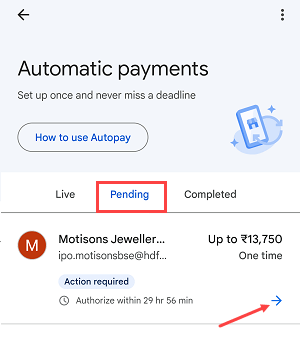
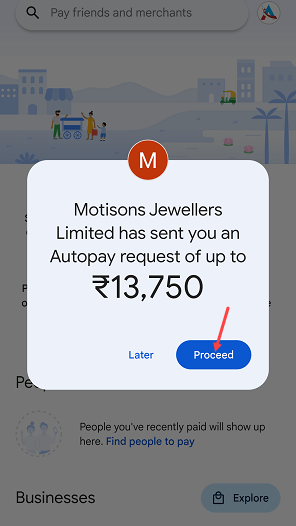
Step 6: Locate the Pending IPO Mandate
Tap on the “AutoPay” option. Inside, you will see different tabs like ‘Live’, ‘Pending’, and ‘Completed’. Your new IPO request will be under the “Pending” tab. Tap on it to open the details.
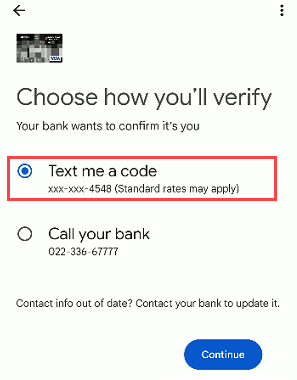
Step 7: Authorise the Mandate
Review the mandate details, including the company name and the amount to be blocked. Tap the “Authorise” button to proceed.

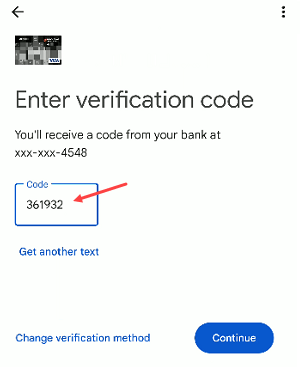
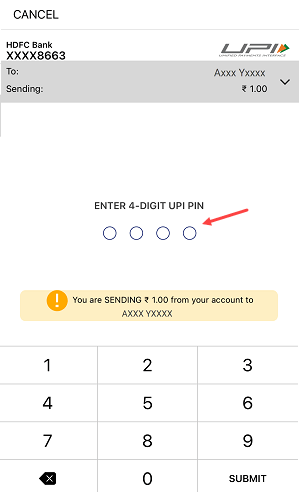
Step 8: Enter Your UPI PIN to Approve
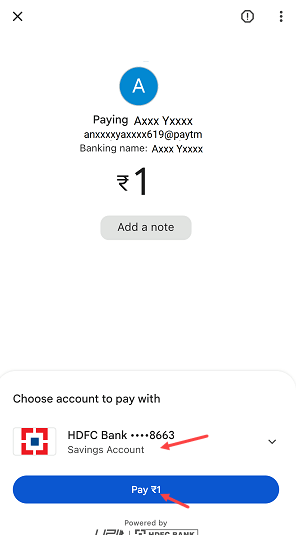
Select the correct bank account from which the funds will be blocked. Finally, enter your secret 6-digit UPI PIN to approve the mandate. Once you enter the correct PIN, your IPO mandate will be approved successfully, and the funds will be blocked in your account until the allotment date.
Final Words
The mystery of the missing AutoPay option in Google Pay is solved by understanding that the feature is context-aware—it appears when it’s needed. By first applying for the IPO and pushing the mandate request to your Gpay UPI ID, you effectively enable the feature permanently for future use. This simple yet effective method ensures you never miss an IPO application deadline due to a seemingly missing feature, making your investment journey smoother and more reliable.
FAQs
Why is the AutoPay option not visible in my Google Pay settings?
The AutoPay option in Google Pay typically appears only after a merchant, broker, or service provider sends a mandate or recurring payment request to your UPI ID. If you have no active or pending mandates, the option may not be displayed.
How long does it take to receive the IPO mandate request in Google Pay?
After submitting your IPO application through your Demat account, the mandate request usually arrives in your Google Pay app within a few minutes to a few hours. The video suggests it can take up to 4 hours, so some patience may be required.
What should I do if my IPO mandate approval fails?
First, ensure you have sufficient funds in the bank account linked to your UPI ID. Second, double-check that you are entering the correct UPI PIN. If it still fails, you may need to cancel the original IPO application and re-apply carefully.
Does this method work for enabling AutoPay for other subscriptions?
Yes, the principle is the same. To enable AutoPay for services like OTT subscriptions, mutual fund SIPs, or other recurring payments, you must first initiate the setup from the merchant’s app or website. This action will send a mandate request to your Gpay, making the AutoPay section visible.
Is it essential to update the Google Pay app before applying?
Absolutely. Using the latest version of the app ensures you have all the current features, bug fixes, and crucial security updates, which can prevent issues with functionalities like UPI mandates.


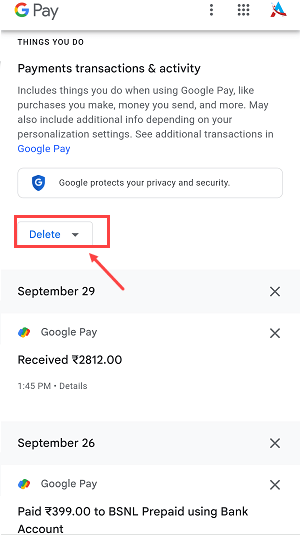


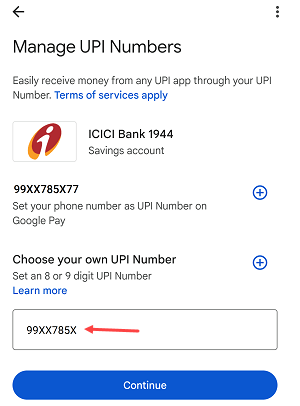

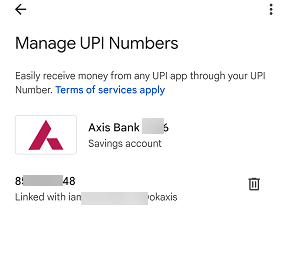
 So this is how to create custom 8 -9 digit UPI number on Google Pay (Gpay). Do you know you can also
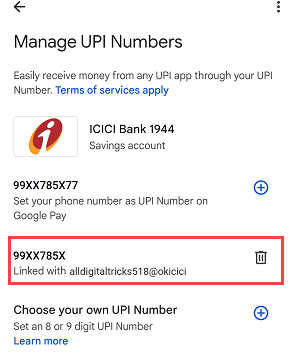